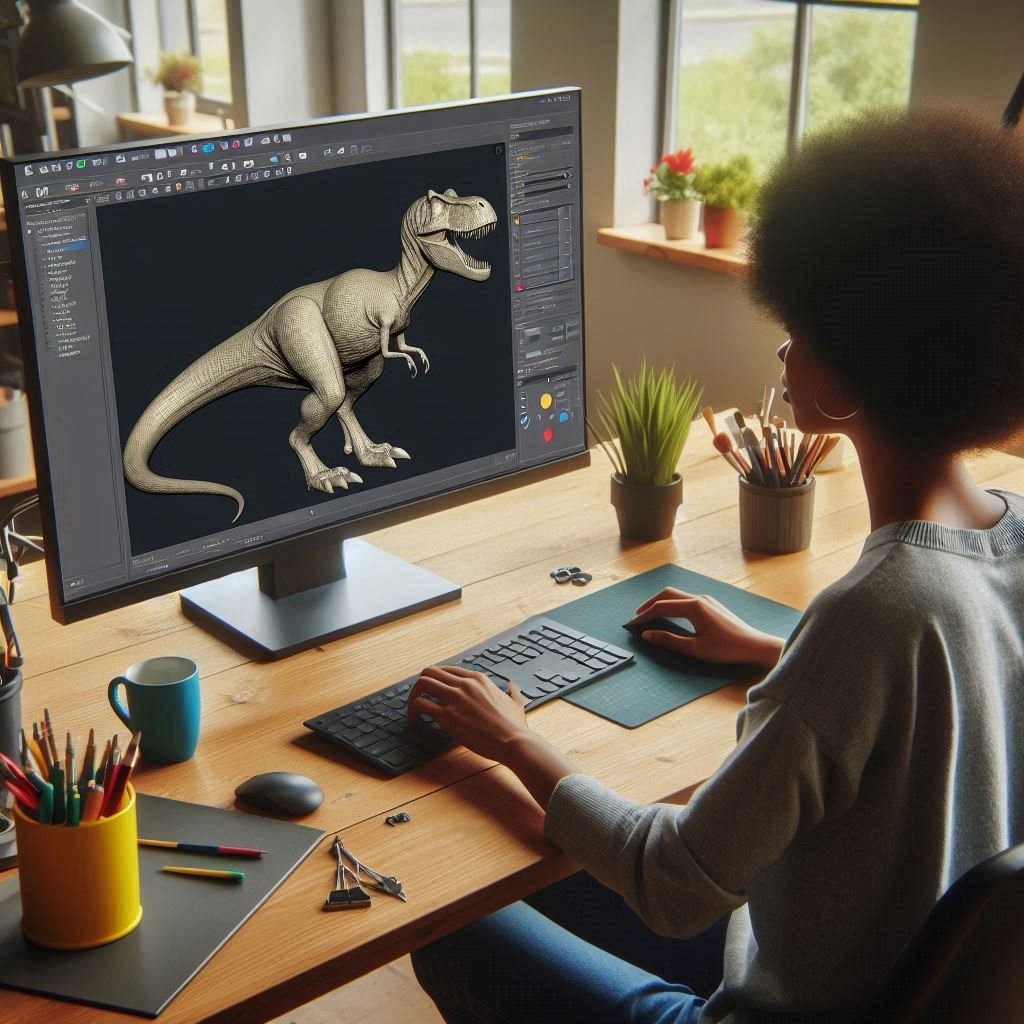
How to Edit STL Files: A Comprehensive Guide
STL files are the backbone of 3D printing, representing the 3D geometry of objects. However, sometimes you need to tweak these files to better suit your needs. Whether you’re a hobbyist or a professional, knowing how to edit STL files can be incredibly useful. In this guide, we’ll walk you through the basics and introduce you to some of the best tools available.
What is an STL File?
STL stands for Stereolithography, a file format native to the CAD software created by 3D Systems. It describes the surface geometry of a 3D object without any color, texture, or other attributes. STL files are widely used for 3D printing and computer-aided design.
Why Edit STL Files?
Editing STL files allows you to:
- Customize existing models to better fit your needs.
- Repair errors in the mesh.
- Optimize models for better print quality.
- Combine multiple models into one.
Tools for Editing STL Files
There are two main types of software you can use to edit STL files: CAD software and mesh editing tools.
- CAD Software
- FreeCAD: A powerful, open-source parametric 3D CAD modeler. It’s great for precise modifications.
- Fusion 360: A professional-grade CAD software that offers robust tools for editing STL files.
- SketchUp: User-friendly and ideal for beginners, though it may lack some advanced features.
- Mesh Editing Tools
- Blender: A free and open-source 3D creation suite. It’s highly versatile and excellent for detailed mesh editing.
- Meshmixer: Specifically designed for working with 3D meshes, making it perfect for STL file editing.
- Tinkercad: An easy-to-use, web-based application ideal for quick edits and beginners.
Step-by-Step Guide to Editing STL Files
Let’s go through the process using Blender, one of the most popular tools for this purpose.
- Import the STL File
- Open Blender and enable the STL import-export add-on in the preferences.
- Go to File > Import > STL and select your file.
- Prepare the Model
- Adjust the position and scale of the model if necessary.
- Use the 3D Print Toolbox to check for and fix any errors in the mesh.
- Edit the Mesh
- Enter Edit Mode by pressing Tab.
- Use tools like Extrude, Scale, and Rotate to modify the geometry.
- Add or remove vertices, edges, and faces as needed.
- Combine with Other Models
- Import additional STL files if you want to combine models.
- Use the Boolean modifier to merge or subtract parts of the models.
- Export the Edited STL File
- Once you’re satisfied with your edits, go to File > Export > STL.
- Ensure the model is watertight and properly oriented for printing.
Tips for Successful STL Editing
- Keep it Simple: Start with small changes and gradually move to more complex edits.
- Check for Errors: Always use tools to check for mesh errors before exporting.
- Save Frequently: Keep multiple versions of your file to avoid losing progress.
Conclusion
Editing STL files can seem daunting at first, but with the right tools and a bit of practice, it becomes much easier. Whether you’re fixing a model or creating something entirely new, the ability to edit STL files opens up a world of possibilities in 3D printing.
Happy printing!

